Nowadays, everyone uses Facebook for some purpose, such as keeping up with trends, staying connected with people, and sharing photos and videos daily, right? However, for many marketers, Facebook also serves as a business target, and they use Facebook Business Manager to promote, sell, and advertise their products. It is an essential tool for keeping your Facebook business assets secure, centralized, and structured.
Fascinating, Isn’t it? Handling multiple Facebook pages successfully is a challenging task. It’s not easy to craft audience-specific Facebook marketing strategy, especially with changing content preferences and algorithm updates.
If you have been trying to set up Facebook Business Manager since you are unaware of how it works, then we have good news for you.
This article will walk you through the entire process, from creating your account to placing your first ad, in just six simple steps.
Hit the play icon to listen this article.
Let us start, shall we?
What Is Facebook Business Manager?
Facebook Business Manager is a free platform that assists businesses in managing their social media presence on Facebook and Instagram, It’s well-known for making it easy for businesses to manage their pages, advertising accounts, and insights. Furthermore, it enables secure access to business assets such as Pages and ad accounts and easy collaboration with partners and agencies.
Business Facebook Manager also includes tools for managing employee access and reporting on performance and campaigns.
According to Facebook Business Manager, this feature acts one complete platform for marketers to manage assets and business tools.
You can use this tool to:
- Viewing permissions can be removed or changed.
- Determine who has access to your company’s business pages and ad accounts and allocate them multiple roles within the platform.
- Share your Business Manager accounts with any agencies you’ve hired to assist you in managing your advertising campaigns.
The entire purpose of using Facebook Business Manager is to assist you and your team in staying focused and concentrated when monitoring and creating pages, publishing ads, and other business assets on Facebook.
Why Use Facebook Manager?
Managing multiple customers, business pages, ad accounts, and other terms becomes difficult. The above situation can get more challenging for agencies that handle various accounts.
So how can we overcome this problem?
Fortunately, we have Facebook Business Manager available to keep things secure and organized to smooth the transition from one resource to the next through a single dashboard.
To state our point further, here are six advantages of using this powerful tool;
- This feature distinguishes your individual Facebook profile from your company page.
- Handle various Facebook ad profiles and Pages from a single location.
- Multiple access is easy to split into a large number of people.
- Create unique audiences for various ad campaigns.
- Control the amount of access given to each employee based on their role.
- Restrict access for those who have left your employ.
Another advantage of Facebook Business Manager is that it keeps you focused on your work.
After you log in, you will see your business assets, where you can use your pages, Ads Manager, and other assets related to your business. So you don’t get distracted by your personal Facebook feed or notifications.
Also Read
A Guide To Facebook Ads Budegt With 04 Mistakes To Avoid
Facebook Boosted Post Vs Ad: What’s The Difference?
Facebook Creator Studio: The Best Guide For Beginners | Get Started In 2-Steps
Facebook Marketing Automation Tools To Revamp Your Business
Create A Successful Facebook Business Manager Account In 06 Easy Steps
The process of creating a business manager account differs significantly from that of creating a personal profile.
While creating a personal account, all you need to do is enter your email address.
Here is how to set up Facebook Business Manager account step by step.
How To Get To Business manager On Facebook
- Visit Facebook.com first.
- Sign in using your Facebook credentials.
- Select the down arrow from the page’s upper right corner.
- From the drop-down menu, choose “Business Manager.”
- The Business Manager dashboard will display.
Step 1: Create A Facebook Business Manager Account
To create an account with a business manager, you should first have a Facebook profile. It is necessary to verify your identity.
The information you enter in that account will not be accessible to your coworkers, vendors, or partners.
Follow the steps below to create a successful Facebook business manager login and account.
- Open to business.facebook.com.
- Click on the right top side button of the screen to create an account.
- Access your individual Facebook account. Now you need to enter your business name, individual name, and the email address you want to use in your business account click next.

- Fill in your additional information, such as phone number, address, and website, and then clarify whether you want to promote your business or provide services to other companies.

- Following that, you will receive an email asking you to confirm your Business Manager account. Look in your inbox for an email with the subject “Confirm your business email.” Open the email and click the Confirm Now button.
Step 2: Connect Your Business Facebook Pages To Your Business Manager Account.
You can use three different approaches here:
- Add an old Facebook business page to the mix.
- Make a new business page on Facebook.
- Requesting page access for your client.
If you are handling pages for a client or business, you must select the Request Access button rather than the Add Page option. Otherwise, a dissatisfied client will ask you why we have limited access to our own business.
Assume you are in charge of your own assets, you have a business page, and you need to add your Facebook page to Business Manager.
- Open the Business Manager Facebook Dashboard. Click Add Page, and then click Add Page again in the Add Page to Business Manager pop-up window.

- Next, enter your Facebook business page name in the box. Then click Add Page. Your request is automatically approved as you have admin access to the site.
- Follow up the same process if you have more than one page.
Once you have successfully linked all your Facebook pages with a business manager account, you can move to step 3.
Step 3: Sync Your Business Manager Profile With Your Facebook Ad Accounts.
Note: You can not go back after adding your ad account to your business manager and cannot detach your account once you have logged in, so try to log in on your account. Additionally, always choose Request Access for customer accounts.
If you already have an account Facebook Ad account, link your existing ad account by following the steps below:
- Select add ad Account from the Business Manager dashboard.

- Click Add Ad Account once more, then enter the ad account ID. Facebook Ad Manager, you will be able to identify your account ID.

- You can specify that you are optimizing the ad account for your business through my business option. When done, select create.
Every company starts with a single ad account. Once you begin actively spending money in your initial account, you can speed up more based on your advertising expenses.
Step 4: Invite Others To Assist You In Managing Your Facebook Assets
Facebook advertisements are huge. It might not be possible to manage it all alone. As a result, It enables you to add team members.
You can assemble a team of people to assist you with your page and ad campaigns. Here’s how you can do it:
- Open and select add people from your Business Manager dashboard.
- In the appeared box, enter your team member’s email id whom you want to add. You can only add individuals here, not any agencies or businesses.
- Here you can also restrict the usage of your team members, as it has options of limited access or full access. After finalizing, select next.
- On the left side, you can also select pages where you want your team members to work. Using the toggle switches, you can customize the member’s access.

- Get back to the left menu, and choose to add accounts. By using toggle switches, you can customize the user’s access. When done, click Invite.
- You can also expand your team. To do so, choose to Add More People, then Done.
Now you have to wait until your team members accept the invitation sent by email to be a part of your business page.
Step 5: Connect With Your Instagram Account
You can connect your Instagram account to Facebook Business Manager once you have set up your Facebook assets.
- Navigate to your Business Manager dashboard and click Business Settings in the upper right-hand corner.
- Then choose Instagram accounts in the left column, then add.
- Enter your Instagram credentials in the Add an Instagram account box and click Log In.
You may have encountered issues while managing Facebook and Instagram accounts around the same time, and things can get a little messed up when creating or posting content on these platforms.
To ease down your work, you can take the help of an automation tool like Socinator, from which you can automate your post and stay updated with your work without facing any issues.
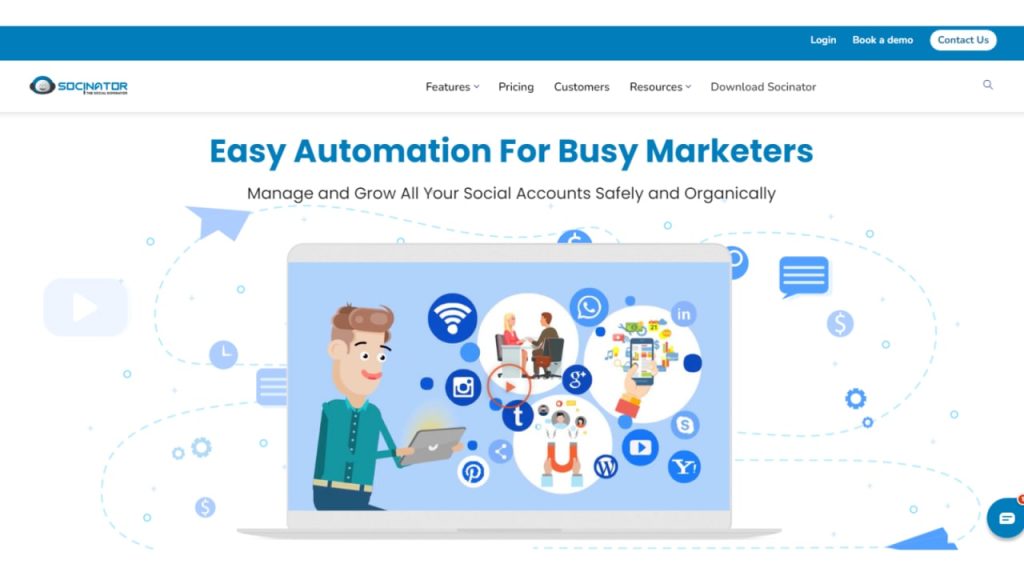
Socinator is one of the most effective, tested Facebook marketing and social media automation tools, which helps clients streamline everything for busy marketers.
It allows users to schedule posts, manage accounts, and identify relevant information on social media. Provides reporting and analytics tools that grants our clients to evaluate their performance on social media.
Users can contribute articles to groups, share items, and have the information automatically published within RSS feeds. Additionally, they can let you send friend requests and automate replies to messages. Let us explore the essential features of the Sociantor tool.
- Helps to increase digital footprint more quickly
- Modern Publishing
- Automation of all activities
- Activity Reports And Statistics
- Publish RSS Feed Content Automatically
- Methodical Account Management and many other things.
You can also use socinator to automate your posts on popular social networks such as LinkedIn, Twitter, YouTube, Pinterest, Google Plus, Facebook, Tumblr, and Quora.
Step 6: Frame Up Your Facebook Pixels
Facebook Pixel is a slight piece of code that Facebook generates for you. You can embed the commands on one website to gain access to vital business data for tracking conversions, optimizing Facebook ads, creating the right audience for your advertisements, and re-marketing to leads.
Here is how to configure your pixel from Facebook Business Manager.
- From your Business Manager dashboard, click on business settings.
- When you select data sources, then a drop-down menu will appear. Choose Pixels and then Add.
- Provide your pixel profile a name, and you only have 50 characters. After that, Facebook will request that you enter your internet site to offer suggestions on how to structure your pixel. Click the Continue button.
- Select button Set up the Pixel right now.
After that, you can continue with setting up Facebook pixel as usual.
Wrapping It Up,
In this article, we have covered everything about Facebook Business Manager and how you can automate the posts that can help you start and create your business profile like a pro.
Considering the scale of Facebook ads digital footprint, you need to establish and maintain a business presence on Facebook. So stop wasting time and start using this powerful tool right away.

