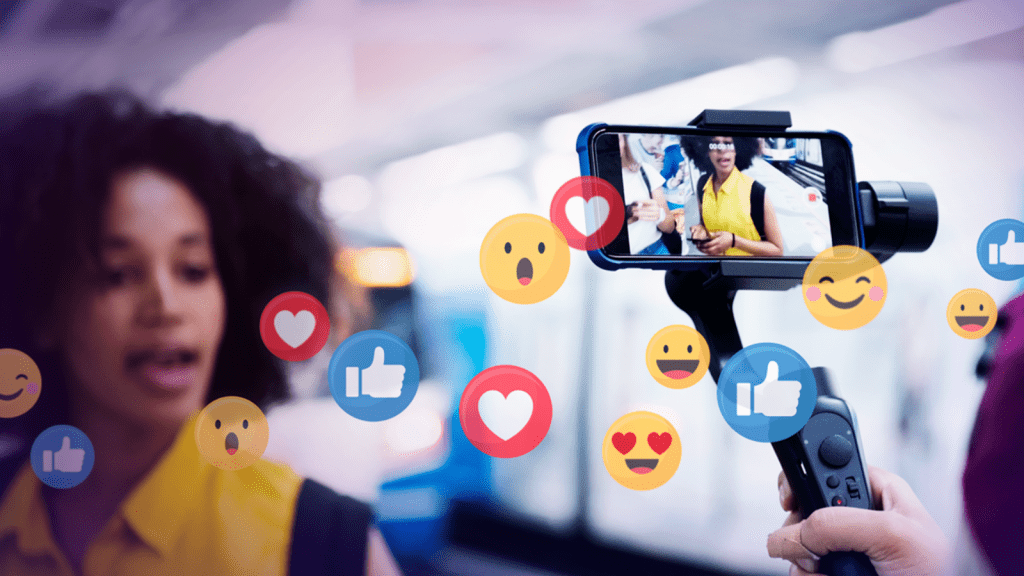
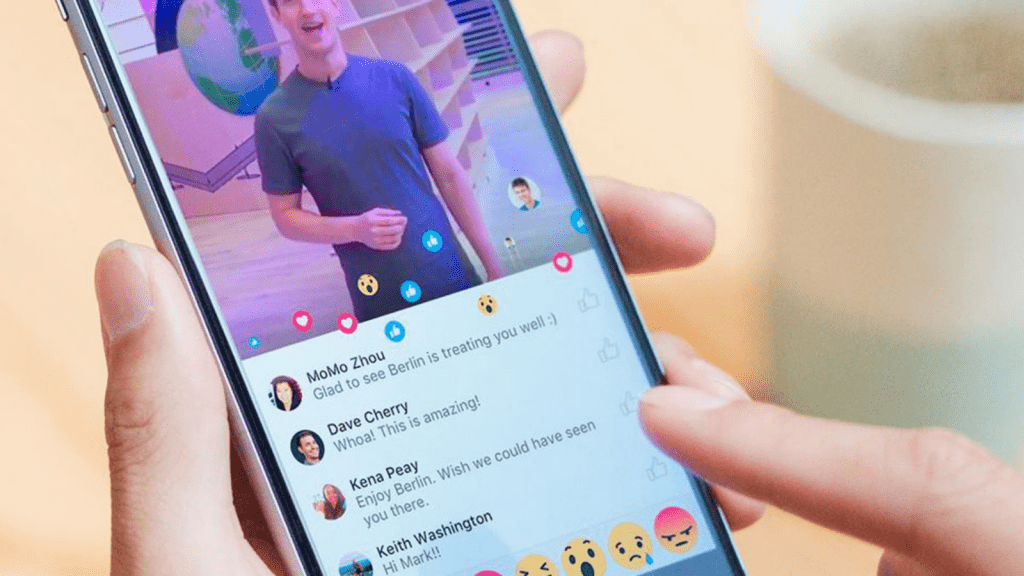
The Facebook live stream got launched back in April 2016. Live streaming is a Facebook feature through which the users can videocast straight away from their mobile devices and transmit to their News Feeds. Facebook live streaming started gaining popularity right after launching.
The users started making use of this feature to the fullest, and why wouldn’t they, because their followers started enjoying the posts. By 2018, it got clear that 78% of audiences are interested in watching and getting involved in Facebook live streams.
Hit The Play Button To Listen This Podcast:
Facebook users make the most out of any latest and unique feature launched by it, and live streaming is one of them. It is no wonder why Facebook live streams receive this amount of hype. We found that millions of users live stream every day. And guess what, they all receive enormous traffic on their streams.
Isn’t this interesting to see how the audience is so engrossed in live streams. You will be more surprised to know users receive 03 times more audience engagement of their live streams than other posts and videos.
What is Facebook Live Stream?
Facebook Live Stream is a feature through which the users can videocast live from their mobile phones or computers. It reaches out to the audience right away in real-time. Through this, the users can grab the attention of more audiences and talk about their upcoming projects. The users can also save the streaming videos. They can use this saved video later to mark the events that are significant to them.
Likewise, the businesses on Facebook having enormous traffic make use of this powerful feature. Because it is an uncomplicated way to build a strong network of audiences. How? Each time creating posts and videos to tell your audience regarding your new products and services can be monotonous after some time.
If you start using the latest features, audiences will be more engrossed in it. Live streams provide you an opportunity to freely talk and elaborate about the new launches of your brand. Here you do not have to worry about offering something more to your audience than your competitors. Keeping it real, organic, and genuine is what will make the streaming effective and popular.
In this blog, let’s dive in and check out the steps to make use of Facebook Live and see how it works.
How to Use Facebook Live Stream?
1. Click on the camera present at the left of the Facebook search bar.
2. Provide access to Facebook to use your camera and microphone when hinted.
3. Turn to “Live” on the bottom of the Facebook camera screen.
4. Pick out your posting and privacy settings.
5. Draft a captivating description
6. Add an activity, Tag friends, Set your location
7. Make your camera’s adjustment.
8. Add filters or text and images to your live video.
9. Tap on the blue “Start Live Video” key to start videocasting.
10. Communicate with viewers and commenters.
11. Tap on “Finish” to conclude the videocast.
12. Save the live video to your phone’s camera roll
1. Click on the camera present at the left of the Facebook search bar
When you open your Facebook application, the first thing you see in the News Feeds. Here in the top left corner next to the search bar, you can see a camera icon. Tap on the camera icon to start videocasting. Facebook will need your permission to access the camera and microphone of your mobile device.
You also have an option to go live from your Facebook profile. Tap on the “What’s On Your Mind?” text and open the status bar. Then you can see a “Go Live” option in the dropdown menu.
2. Provide access to Facebook to use your camera and microphone when hinted
Facebook will require your permission to access the camera and microphone of your mobile devices. Permitting this will let you use your front camera and rear camera while videocasting live. The pop up will disappear and will not get prompted again after the first use.
3. Turn to “Live” on the bottom of the Facebook camera screen
Once Facebook receives permission to access your mobile’s camera, you can start broadcasting your live streaming. However, when you open the Facebook camera, it is set to non-live mode as the default. Switch your camera to live video mode.
Now you can check, at the bottom, there are multiple options available using which you can create appealing content. On the left-hand side of the screen, you can see the settings saying “LIVE” Click on it when you are ready to begin shooting.
4. Pick out your posting and privacy settings
The Facebook Live Stream always has the settings marked to “Only Me” and “Post, Story” options. It means only you can see the live video, and none of your Facebook friends and followers will be able to check what you are posting.
But the “Post, Story” option lets you put up the live video in your feed as a Facebook Story or conventional Facebook Post if you want your audience to see it even after your live session is over. You can alter the settings by clicking on the options available.
If you are posting for yourself or advertising about a brand, you will have to make the live video public. Hence, it will reach out to your followers and even to the people who are a part of your follower’s network. While posting for yourself, you might not want the network of your followers to see your content. To keep it close and only share with your network, change the settings from Public to Friends.
If you are new to Facebook Live Streams and want to check out your video before showing it to your audience, then you can use the “Only Me” option. You can find this privacy setting by tapping on the “See More” and clicking on the last option.
You can also see some options to post your video as a post or put up a story for specific users in your network. These options are available in the privacy settings of the “Only Me” option.
5. Draft a captivating description
You get an option to add a description to your live video. It will appear as a caption on the audience’s feeds like a regular post. Draft an intriguing headline or caption defining the purpose of your live broadcasting session. It will help you grab the attention of more users to view your live streams.
6. Add an activity, Tag friends, Set your location
Make your video more personalized by clicking on the options available at the bottom of the screen. You can add the location you are shooting the live video to let your audience know about it. You can also tag people who are with you and add activities to let people know about the event for which you are streaming live. You can be more discoverable on Facebook by adding these options to your stream.
7. Make your camera’s adjustment
Do you want your camera to be front-facing or towards the back? Ensure your camera faces the direction you want it to be before clicking on the “Start Live Video” option. The setup in the background will show you in which direction the camera is facing.
You can adjust it accordingly before starting the video. You can change the camera setting by clicking on the rotating arrows option. It is present in the upper right corner of the screen. It does not matter if you are taking the video horizontally or vertically. The video will be a square, after all.
8. Add filters or text and images to your live video
Click on the blue “Start Live Video” option in the center of your screen. You can start adding lenses, filters, texts, and images to make your video more captivating.
9. Tap on the blue “Start Live Video” key to start videocasting
3, 2, 1… and start, yes after clicking on the start live option, Facebook gives you a little countdown before you begin shooting. Once you start videocasting, your live video will appear in the news feeds like the regular posts. You can go live for about 90 minutes long.
It is a fact that the longer you are streaming live, the more people will be able to discover the session while going through their news feeds.
10. Communicate with viewers and commenters
To engross the audience who are watching your live session, you need to reply to their comments and interact with them. You will have a healthy Facebook live streaming if you can reach out to all the comments and communicate with them.
You can see the number of viewers and the new comments on your screen itself. After speaking about the event, start resolving the queries and answering all the questions of your followers.
11. Tap on “Finish” to conclude the videocast
After you get done with the live session, click on the Finish option. Now your video will stay on your page like regular posts.
12. Save the live video to your phone’s camera roll
You can download the video and keep it on your camera roll. Later you can go back to the post and change the settings accordingly. You can also delete the video if you want to like you would do to any other post.
Quite a lengthy process, isn’t it?
Let me introduce you to a social networking intelligence software, Socinator, using which you do not have to worry about this long process. You can schedule your live sessions. Now you do not have to maintain a record of when to go live and what to share. You can pre-decide everything and schedule your posts,
Socinator will help you never miss out on any of the live sessions you wanted to hold. As discussed, replying to viewer’s comments is quite necessary to keep them engrossed. Even after you get done with the live session and put up the video as a post, the tool will remind you to reply to your audience.
Check Out Our Related Posts:
6 Tips To Use Facebook Ads For Valentine’s Day Marketing
A Guide To Facebook Ads Budget With 04 Mistakes To Avoid
Here’s What No One Tells You About Facebook Like Campaign
Wrapping Up
We hope this guide will help you in streaming live on Facebook and letting more people know about your upcoming events. We will keep you updated regarding any other cool ways to introduce to engross Facebook audiences every time we get our hands on it.
Is there something more that we can incorporate? Please drop your thoughts in the comments below. We would love to hear from you!

